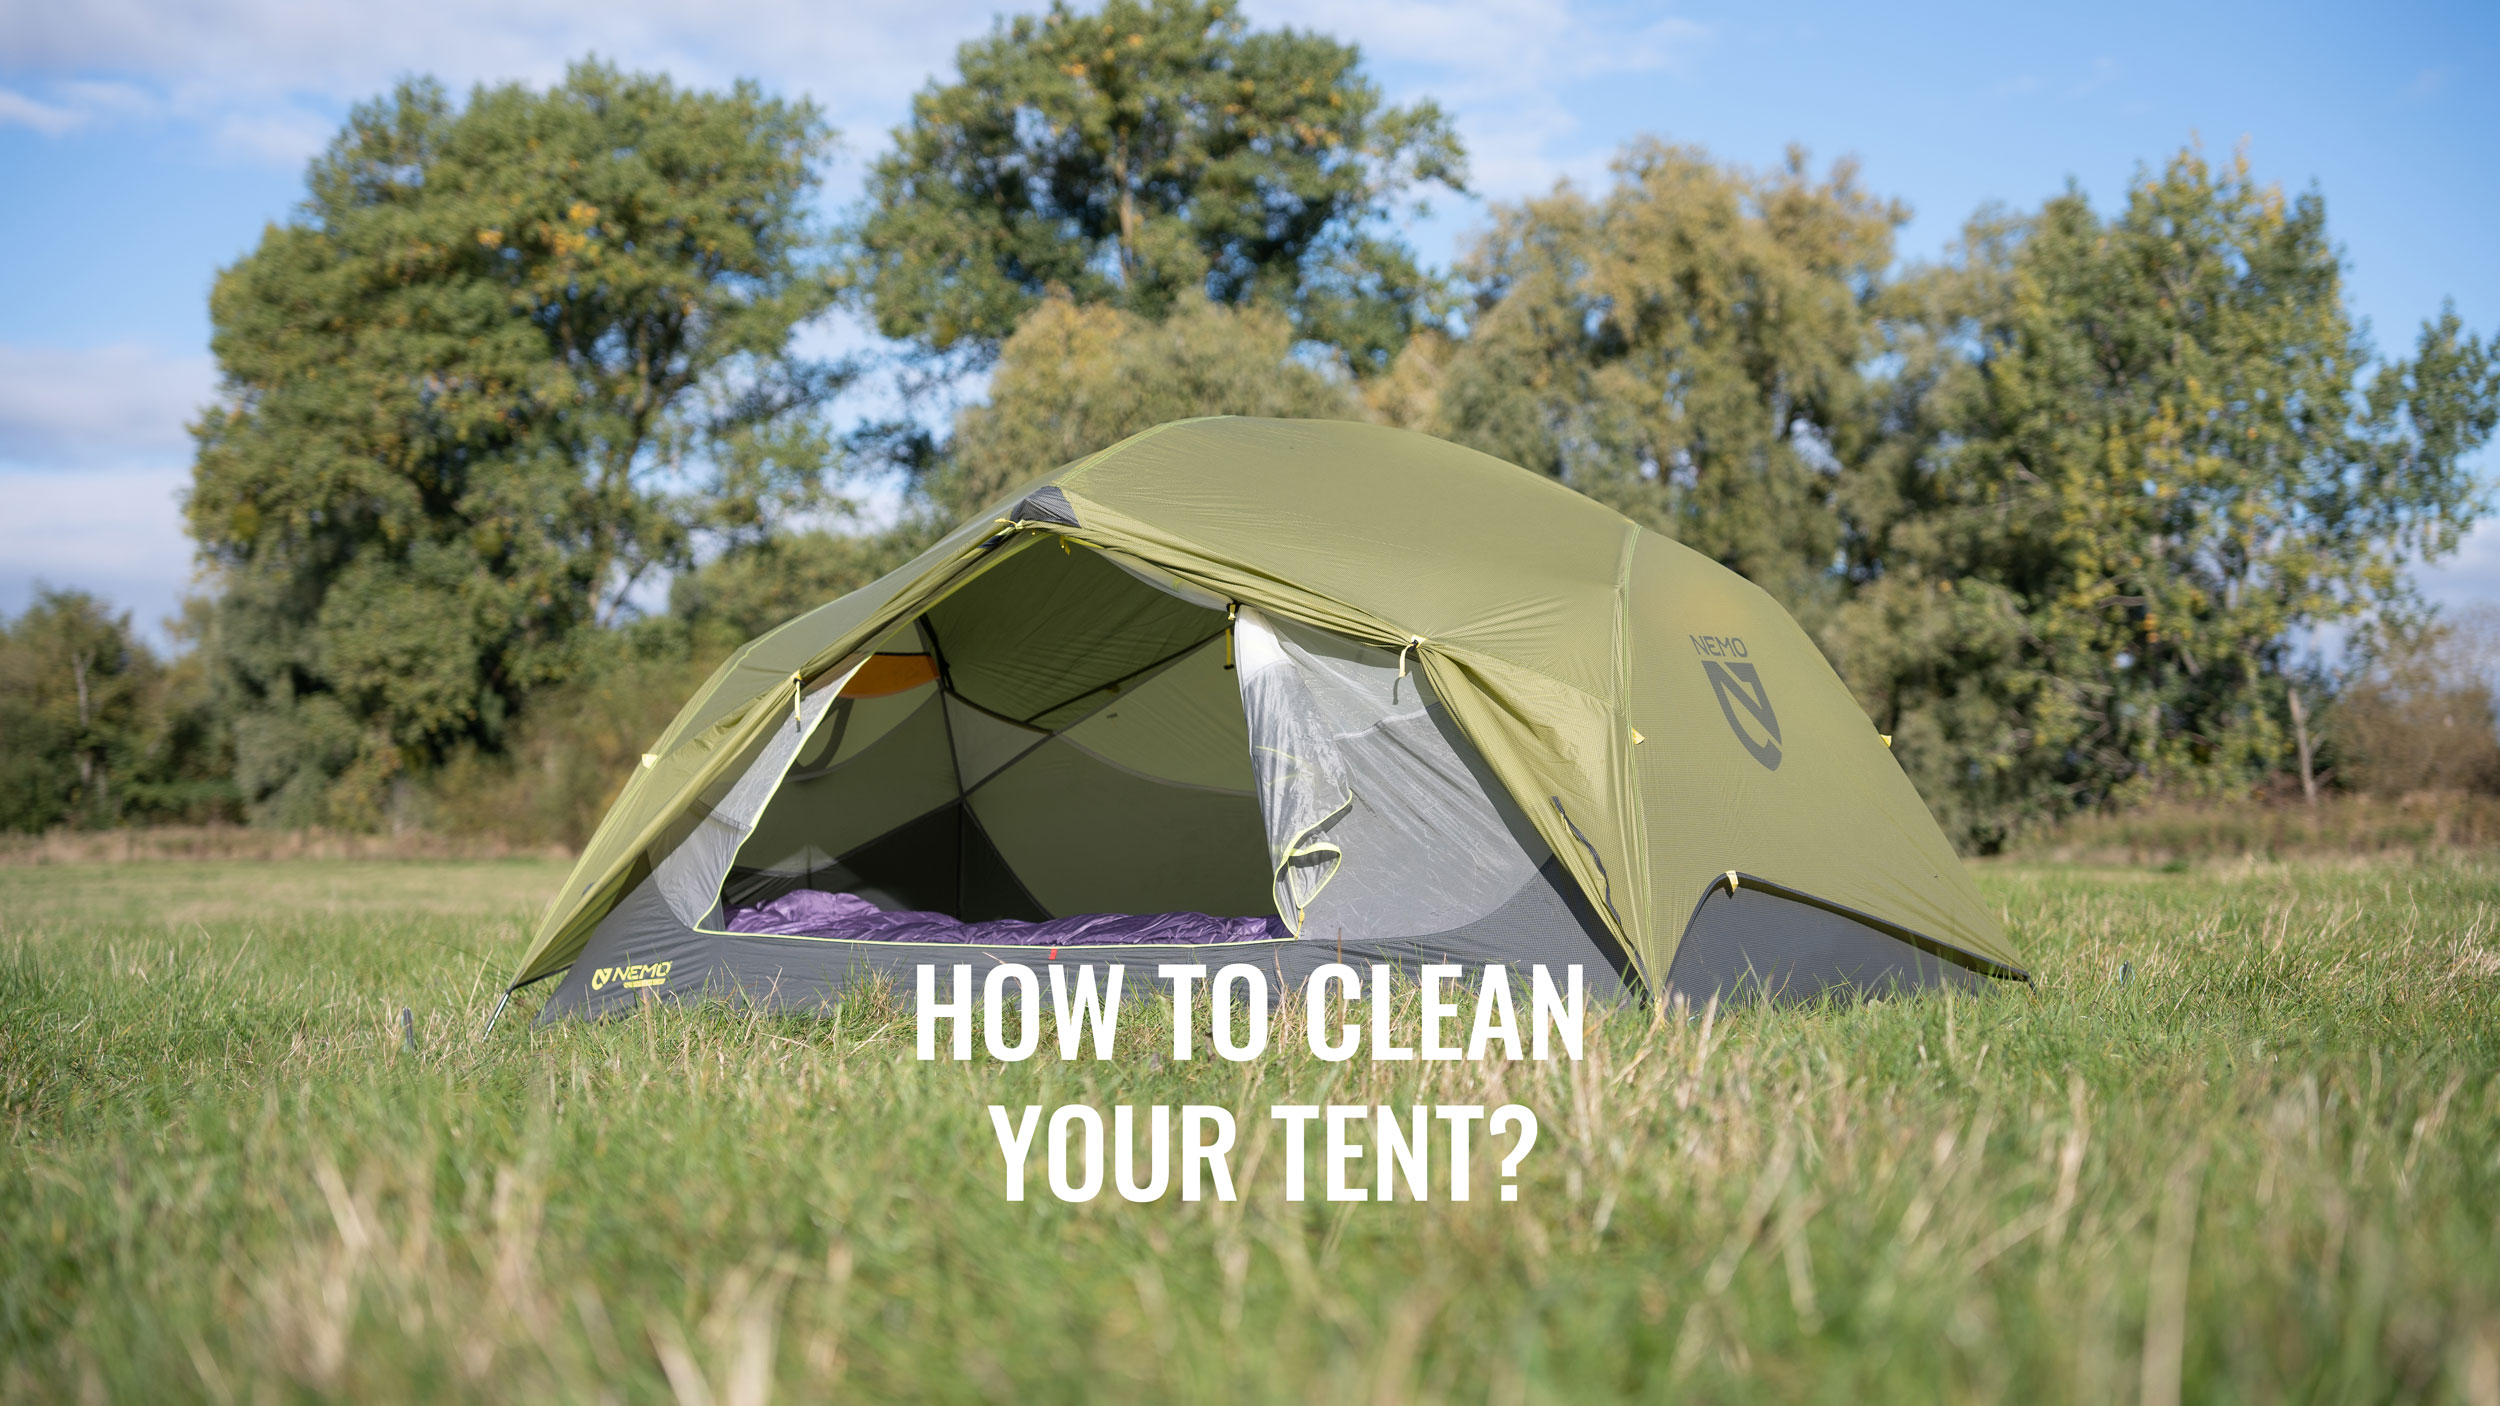
HOW TO CLEAN YOUR TENT
Author: Trekitt Gear Team
Outdoor gear specialists with decades of combined experience pitching, maintaining and testing tents in real UK conditions — from wind-exposed mountain camps to wet woodland pitches. Our advice is based on hands-on use across changing seasons, helping you protect your shelter and extend its lifespan.
Wondering how to clean a tent? This simple guide reveals how easy tent care keeps your shelter fresh, waterproof, and ready for every adventure ahead.
Updated for 2026: Modern tents use advanced PU and silicone coatings, lighter fabrics and seam-taping technologies that require careful cleaning. We’ve reviewed this guide to reflect current fabric treatments and recommended care methods to help maintain waterproof performance and durability.
In SHORT…
-
Why cleaning your tent really matters: Keep mould, bad odours, and worn-out waterproofing at bay—find out why every camper should make this a habit.
-
How to keep it simple and stress-free: Discover easy tips for routine tent care that can save you time and money down the line.
-
When it’s time to give your tent extra TLC: Learn how to spot the signs that your tent needs deep cleaning or reproofing
So, you’ve just returned from an epic camping trip. The memories are fresh, the stories are plenty, but there’s one thing that’s not quite as exciting: your tent. It’s seen some action, maybe even a little too much. Dirt, mould, and that “distinct” camping smell have taken over. But don’t worry! With a little TLC, your tent will be as good as new and ready for your next adventure. Let’s dive into the best ways to clean, maintain, and love your tent like the reliable adventure buddy it is!
Grangers Fabsil
Protector Liquid
Grangers Fabsil
Protector Aerosol
Nikwax Tent and
Gear SolarProof
Nikwax Tent
and Gear SolarWash
Why Bother Cleaning Your Tent?
First things first—why should you even care about cleaning your tent? Well, think of your tent as your home away from home. You wouldn’t live in a dirty house, right? Regular cleaning not only keeps it fresh but also prolongs its life, ensuring it stays waterproof, mould-free, and welcoming for years to come.
2026 Update PFAS-Free Tent Coatings: How They Worked Before — And How They Work Now
With the shift towards PFAS-free waterproof treatments and ultralight technical fabrics, tent care isn’t quite as “set and forget” as it once was. We’ve updated this guide to ensure you’re cleaning and maintaining your shelter in line with modern fabric technologies.
Many modern tents now use PFAS-free water-repellent treatments, replacing older fluorocarbon-based coatings that were extremely durable but environmentally persistent.
To understand how to care for your tent today, it helps to know how these coatings actually work.
How Waterproof Coatings Worked Before (Fluorocarbon / PFAS-Based)
Older DWR (Durable Water Repellent) treatments used long-chain fluorocarbons.
These coatings:
- Created an extremely low surface energy
- Caused water to bead tightly and roll off easily
- Repelled oils as well as water
- Were highly resistant to contamination
In simple terms:
Water struggled to stick to the fabric at all.
Even if the tent was slightly dirty, the coating often continued to bead water effectively. These finishes were very durable — sometimes lasting years before needing reproofing.
The downside?
PFAS chemicals do not break down easily in the environment.
How PFAS-Free Coatings Work Now
Modern PFAS-free treatments use alternative chemistries (often hydrocarbon-based finishes).
They still:
- Reduce surface energy
- Encourage water to bead and roll off
- Protect the outer fabric from saturation
But they differ in key ways:
- They are less resistant to oils and dirt contamination
- Surface beading can reduce more quickly
- They rely more on proper cleaning and maintenance
The tent is still waterproof — but performance depends more on upkeep.
Important: Waterproof vs Water-Repellent
This is where many people get confused.
Your tent’s true waterproofing comes from:
- The PU or silicone coating
- The fabric construction
- Taped seams
DWR (the outer treatment) simply helps water bead and roll off the surface.
If beading stops, it doesn’t automatically mean your tent is leaking.
It usually means the outer treatment needs cleaning or refreshing.
What This Means for Cleaning Today
With PFAS-free coatings:
- Dirt impacts performance faster
- Body oils and pollution reduce beading
- Harsh detergents cause more noticeable degradation
So modern tent care is less about “deep cleaning once a year” and more about:
✔ Gentle, regular cleaning
✔ Proper rinsing
✔ Thorough drying
✔ Reproofing when needed
Maintenance matters more — but the environmental impact is lower.
The Bottom Line
Older fluorocarbon coatings were extremely resilient but environmentally harmful.
Modern PFAS-free treatments are more responsible — but they reward careful cleaning and good storage habits.
A small shift in the maintenance approach keeps today’s tents performing just as reliably as those of previous generations.
TENT Clean-Up: Step By Step
After an epic camping trip, your tent likely looks like it’s been through the wringer—and in some ways, it has! The forest floor, the sandy beach, or even a grassy field can leave your tent covered in all sorts of debris. So, before you stash it away until your next adventure, it’s essential to give it a good clean-up. Here’s how to ensure your tent stays in top shape and ready for the next outing.
1. Shake It Out
When you first get home, the easiest and most effective step is to give your tent a good shake. This simple action can work wonders:
Set up the tent: Find a space where you can fully open up your tent, whether it’s in your backyard, a garage, or even a spacious living room. Setting it up helps ensure you get all the nooks and crannies.
Shake out debris: Start by turning the tent upside down (if possible) and give it a vigorous shake. This should dislodge any loose dirt, leaves, pine needles, sand, or even the odd bug that might have made its way inside.
Inspect as you shake: As you’re doing this, keep an eye out for any areas that might need special attention later, like spots with stuck-on mud or stains.
2. Spot Clean with Care
Once you’ve shaken out the loose stuff, it’s time to tackle the tougher spots. This step requires a bit more patience, but it’s crucial for maintaining your tent’s fabric and waterproofing:
Choose the right cleaner: When cleaning your tent, select the right cleaner to avoid damaging its materials or waterproof coating. While harsh household cleaners should be avoided, you can opt for a tent-specific cleaner or a mild soap like dish soap, or, preferably, a specialist tent cleaner designed for technical fabrics. Household detergents and washing-up liquids can reduce modern water-repellent finishes more quickly. For a highly effective option, consider Nikwax Tent & Gear SolarWash. This product is specifically designed to clean tents while revitalising the water repellency and protecting against UV damage, helping to extend the life of your tent. It’s a great choice for maintaining your tent’s performance after outdoor adventures.
Use a soft sponge or cloth: Dip your sponge or cloth in a solution of lukewarm water and your chosen soap. Gently scrub any areas with visible dirt, bird droppings, or tree sap. Focus on the spots that really need attention—there’s no need to scrub the entire tent if only a few areas are dirty.
Don’t forget the zippers: Zippers can easily get clogged with dirt and sand, which can damage them over time. Use an old toothbrush to gently clean them, making sure to remove any debris that could cause the zipper to stick or break.
How to Remove Tree Sap from Tent Material
Tree sap can cling stubbornly to tent fabric and, if handled incorrectly, may damage waterproof coatings. The key is patience and a gentle approach.
Step 1: Let the Sap Harden
If the sap is still sticky, allow it to dry completely first. Trying to wipe fresh sap will usually spread it further into the fabric.
Step 2: Gently Remove Excess Sap
Use a plastic card (like an old bank card) to carefully lift and scrape away the hardened sap.
Avoid metal tools — they can damage the fabric and coatings.
Step 3: Treat the Residue
Dampen a soft cloth with a small amount of isopropyl alcohol and gently dab the affected area. Do not soak the fabric. Work slowly and avoid aggressive rubbing.
For lighter stains, a specialist tent cleaner may be sufficient without using alcohol.
Step 4: Rinse Thoroughly
Once the sap residue is removed, rinse the area with clean water to remove any remaining cleaning solution.
Step 5: Check Water Repellency
After drying, test the area by lightly sprinkling water on it.
If the fabric no longer beads water, apply a tent-specific reproofer to restore performance.
Important Notes
- Always test cleaning solutions on a discreet area first.
- Avoid prolonged soaking, especially on PU-coated fabrics.
- On silicone-coated (silnylon or silpoly) tents, use minimal alcohol and gentle pressure only.
3. Rinse and Dry
After spot cleaning, it’s time to rinse away any soap residue. This step is vital for ensuring your tent stays in good condition:
Rinse thoroughly: Use a hose or a bucket of clean water to rinse off the soapy areas. It’s important to remove all soap residues, as any leftover soap can attract dirt and degrade the fabric over time. Be gentle with the water pressure to avoid damaging the seams or fabric.
Inspect for lingering dirt: As you rinse, keep an eye out for any spots you might have missed. If you see any, give them a quick additional scrub and rinse again.
The Golden Rule: Dry It Thoroughly
Now, here’s the most critical part of the entire process—drying your tent completely. This step cannot be skipped, as a damp tent is a breeding ground for mould and mildew:
Air it out in the sun: If possible, set up your tent in a sunny, well-ventilated area. The sun not only helps dry the tent faster but also has natural mould-killing properties. Open all the doors and windows to allow air to circulate through the tent, ensuring it dries both inside and out.
Don’t rush it: Give your tent plenty of time to dry. Even if it feels dry to the touch after a few hours, let it sit out a bit longer. The fabric, seams, and corners can hold onto moisture that isn’t immediately obvious.
Flip and rotate: To ensure every part of the tent dries evenly, you might want to flip it over or rotate it after a few hours. Pay special attention to the tent floor, which often takes the longest to dry.
Extra Tips for Cleaning Large Tents
Cleaning a large tent can be more challenging due to its size, but with a few extra tips, you can manage the process efficiently:
Choose the Right Space
Large tents require a significant amount of space to clean properly. Set up your tent in a spacious, flat area, like a driveway, a large backyard, or even a clean garage if the weather isn’t cooperating. The more room you have, the easier it will be to access all parts of the tent.
Divide and Conquer
If your tent is exceptionally large, consider breaking down the cleaning process into sections. Clean one side or room at a time, which makes the task more manageable and ensures that you don’t miss any spots.
Use a Broom for Debris
For larger tents, shaking out debris might not be sufficient. Use a soft-bristled broom to sweep out dirt, leaves, and other debris from the tent’s interior. This can be especially helpful in tents with multiple rooms or larger vestibules.
Have Extra Hands
Enlist the help of a friend or family member. Cleaning a large tent is much easier with an extra pair of hands, especially when it comes to shaking it out or moving it around during the drying process.
Extend the Drying Time
Large tents have more fabric and seams that can hold onto moisture. Ensure you allow plenty of time for the entire tent to dry, possibly over an entire day or more. Consider using multiple clotheslines or drying racks to hang different sections if necessary.
Check the Poles and Stakes
Don’t forget to clean the tent poles and stakes while you’re at it. For large tents, these components are often larger and more numerous, so take the time to wipe them down and ensure they are free of dirt and moisture before storing.
Store in a Larger Bag
If your tent’s original storage bag is a tight fit, consider upgrading to a slightly larger storage bag. This makes it easier to pack away your tent without having to force it, reducing the risk of damaging the fabric or seams.
Oh No, Mould! How to Deal with It
The last thing you want to see before your next adventure is that dreaded fuzz creeping along the seams or the floor of your beloved tent. Mould is like that annoying neighbour who just won’t go away. But don’t worry; evicting mould is totally doable, and with the right approach, your tent will be back in business in no time.
Why Mould is Such a Problem
It’s not just about the gross factor—mould can actually weaken the fabric of your tent over time, leading to tears and leaks. Plus, mould can cause allergies and respiratory issues, which is the last thing you want on a camping trip. So, when you spot mould, it’s time to act fast!
Step 1: Mix Up a Vinegar Solution
Your secret weapon against mould? Good old vinegar. That’s right, the same stuff you use in the kitchen is a mould-fighting superhero for your tent. Here’s what you need to do:
Grab a spray bottle: Any spray bottle will do. If you don’t have one, you can use a sponge or cloth, but a spray bottle makes things easier.
Mix it up: Combine equal parts white vinegar and water—50/50 is the magic ratio. Vinegar is a natural antifungal, and it’s gentle enough not to harm your tent’s fabric while being tough on mould.
While vinegar is generally safe for most tent fabrics, it’s important to use it carefully — especially with modern lightweight and silicone-treated materials.
🧪 Always Test on a Small Area First
Before applying any cleaning solution to a visible section of your tent, test it on a discreet area (such as inside a seam or corner).
This helps ensure:
- No colour fading
- No fabric weakening
- No unexpected reaction with the waterproof coating
Allow the test patch to fully dry before proceeding.
Step 2: Spray and Scrub
Now that you’ve got your vinegar solution ready, it’s time to get scrubbing. But don’t worry, it’s not as hard as it sounds:
Spray the mouldy areas: Be generous with your spraying. Cover every inch of the affected area, making sure the solution is soaking into the fabric.
Scrub gently: Grab a soft brush—a toothbrush works great if you need to get into small areas—or a soft cloth if it’s a larger section. Start scrubbing the mould away. You don’t need to use a lot of pressure; gentle circular motions should do the trick. The goal is to remove the mould without damaging the tent fabric.
Take your time: Don’t rush this part. Give the vinegar solution a few minutes to work before you start scrubbing, especially if the mould has been there for a while. This will make your job easier and more effective.
Step 3: Rinse Well and Dry, Dry, Dry
Once you’ve scrubbed away the mould, you’re almost there! But don’t stop now—this next part is crucial:
Rinse thoroughly: Use clean water to rinse off the vinegar solution. You can use a hose if you’re outside or a bucket of water if you’re inside. Make sure you get all the vinegar out leaving any behind might cause a different kind of smell (and nobody wants a tent that smells like a salad).
Sunshine is your friend: After rinsing, it’s drying time. And when it comes to drying a tent, the sun is your best ally. Set your tent up in a sunny spot with lots of airflow. Sunlight not only helps dry your tent faster but also has natural mould-killing properties. Double win!
Dry it completely: This part is non-negotiable. Even if your tent feels dry to the touch, let it sit out in the sun for a few more hours. Moisture can hide in the seams and folds, and any leftover dampness is just an invitation for mould to come back.
Bonus Tips: Keep Mould Away for Good
Now that your tent is mould-free, you’ll want to keep it that way. Here’s how:
Store your tent properly: Make sure it’s 100% dry before packing it away. If you must store it in a damp environment, consider adding a few silica gel packs to absorb any moisture.
Regular inspections: Even when your tent is in storage, it’s a good idea to check on it every now and then. A quick inspection can help you catch any issues before they become a bigger problem.
Dealing with Sticky Tent Syndrome
Unrolling your tent only to find it sticky can be a real frustration, but it’s a common issue that can be fixed with some effort.
What Causes It?
Sticky Tent Syndrome usually happens when the tent’s waterproof coating starts breaking down, often due to:
Age and wear: Over time, the polyurethane (PU) coating degrades.
Heat and humidity: Improper storage in hot, humid environments accelerates this process.
Improper cleaning: Using the wrong cleaners or not rinsing properly can also cause stickiness.
How to Fix It
Set Up Your Tent: Set up your tent in a well-ventilated area for easy access.
Wipe Down: Use a damp cloth and mild soap to clean the sticky areas, then rinse thoroughly.
Remove Old Coating: Mix isopropyl alcohol and water, spray on the sticky spots, and gently scrub away the degraded coating. Rinse well afterward.
Reapply Waterproof Coating: After cleaning, apply a tent-specific waterproofing product, ensuring even coverage. Let it dry completely.
Test It: Before your next trip, set up the tent and test its waterproofing by spraying water on it. Reapply waterproofing if needed.
Prevention Tips
Store properly: Keep your tent in a cool, dry place.
Clean correctly: Always use the right products and ensure the tent is dry before storing.
Regular inspections: Check your tent every few months to catch issues early.
By following these steps, you can restore your tent to its former glory and prevent future stickiness.
The Washing Machine Dilemma: Yes or No?
So, you’re staring at your tent after a particularly messy camping trip, and you’re thinking, “Wouldn’t it be easier to just toss this thing in the washing machine?” It’s a tempting thought, right? After all, washing machines are there to make our lives easier. But when it comes to your tent, you need to tread carefully. Let’s break down whether or not the washing machine is a friend or foe to your trusty tent.
Why the Washing Machine Isn’t Always the Best Option
First off, let’s get one thing clear: tents are not like your average piece of clothing. They’re made of specialised materials designed to withstand the elements—rain, wind, sun, you name it. That’s why tossing them into the washing machine can be risky. The rough and tumble of a regular washing cycle can do more harm than good, especially if you’re not careful about how you do it.
Front-Load Only: The Safest Bet
If you’re determined to use a washing machine, here’s the first rule: only use a front-loading machine. Here’s why:
No agitator, no problem: Top-loading machines usually have an agitator in the middle—the big spindle that twists and turns to get clothes clean. But for a tent, that agitator is the enemy. It can snag the fabric, tear seams, and generally cause chaos. Front-loading machines don’t have an agitator, so they’re much gentler on your tent.
Gentler motion: Front-loaders typically tumble clothes rather than agitate them, which is much less aggressive. Your tent will appreciate this gentler treatment, and it’ll be much less likely to sustain damage.
Delicate Cycle, Cold Water: Treat Your Tent Like a Delicate
Next up, think about how you wash your favourite delicate sweater. You wouldn’t throw it into a hot, heavy cycle, right? The same goes for your tent:
Choose the delicate cycle: This cycle is designed to be much gentler, with slower spin speeds and softer movements. Your tent’s fabric will thank you.
Always use cold water: Hot water might seem like it would clean better, but it can actually damage the waterproof coating on your tent. Cold water is much kinder to the materials and still gets the job done.
Tent-Specific Soap Only: Keep That Waterproofing Intact
Now, here’s where things get really important. Do not—and I repeat, do not—use regular laundry detergent on your tent. Here’s why:
Harsh chemicals: Regular detergents contain chemicals that can be way too harsh for your tent’s delicate materials. They can strip away the waterproof coating, which is essential for keeping you dry on rainy camping nights.
Use a tent-specific cleaner: These are specially formulated to clean your tent without damaging the fabric or the waterproofing. Brands like Nikwax make cleaners specifically for tents and outdoor gear, ensuring that your tent stays in top condition. Modern PFAS-free water-repellent finishes are more sensitive to aggressive detergents, making specialist cleaners even more important.
When to Skip the Machine Entirely
Even if you follow all these precautions, there are still times when it’s better to skip the washing machine altogether:
Delicate materials: If your tent is made from particularly lightweight or delicate fabric, like some ultralight backpacking tents, it’s best to avoid the washing machine. Hand washing is much safer for these materials.
Older tents: If your tent has seen better days and the fabric is already starting to wear, the washing machine could damage it. Stick to hand washing to extend its life as much as possible.
Waterproofing: The Final Step
After a good clean, your tent might be sparkling, but is it ready to face the rain? Waterproofing is key:
Nikwax Tent & Gear SolarProof: A fan-favourite for restoring water repellence and UV protection.
Coleman Seam Sealer: Your go-to for making sure those seams stay watertight.
For the DIY enthusiast, mixing silicone and mineral spirits can create a budget-friendly seam sealer. Just remember, a well-sealed tent is a happy tent!
How to Re-Waterproof a Tent After Washing
- Ensure the tent is clean and fully dry.
- Apply a tent-specific reproofer evenly to the flysheet.
- Pay attention to high-wear areas and seams.
- Allow to dry completely.
- Test by lightly spraying water to check beading.
Recommended Products for Cleaning & Re-Waterproofing Tents
Choosing the right products is essential for maintaining waterproof performance — especially with modern PFAS-free coatings and lightweight fabrics.
Here’s what to look for:
1. Specialist Tent Cleaners
Before reproofing, always clean the fabric properly. Dirt and oils reduce water repellency and prevent reproofer from bonding effectively.
Look for:
- Cleaners designed for technical outdoor fabrics
- Non-detergent formulas
- Products that won’t strip PU or silicone coatings
Avoid:
- Biological washing powders
- Fabric softeners
- Household detergents
A dedicated tent cleaner prepares the fabric without compromising waterproof performance.
2. Spray-On Tent Reproofers
Best for:
- Flysheets
- Lightweight backpacking tents
- Targeted high-wear areas
Spray-on products allow controlled application and are ideal when only certain panels need refreshing.
Apply evenly to a clean, damp tent and allow to air dry fully.
3. Wash-In Reproofers (For PU-Coated Tents Only)
Wash-in reproofers can be effective for polyurethane-coated tents — but they are not suitable for silicone-coated fabrics.
Always check your tent’s fabric type before using this method.
4. Seam Sealers
If you notice leaks along seams:
- Use a tent-specific seam sealer
- Apply to clean, dry seams
- Allow proper curing time before packing away
Seam maintenance is just as important as surface waterproofing.
How to Choose the Right Product
Before buying anything:
- Check whether your tent uses PU or silicone coating.
- Clean the tent thoroughly first.
- Reproof only when water no longer beads effectively.
Reproofing unnecessarily can add weight and reduce breathability.
Preventing Mould and Funky Smells
No one likes a stinky tent. Keep it fresh with these tips:
Dry it before storing: Seriously, we can’t stress this enough—moisture is mould’s best friend.
Store it right: Find a cool, dry place away from any potential moisture sources.
Use an enzyme-based odour remover: Perfect for those times when your tent smells more like last week’s dirty laundry than a fresh mountain breeze.
Final Thoughts: Keep Your Tent Adventure-Ready
Your tent is your trusty sidekick on countless adventures, so treat it well! Regular cleaning, smart storage, and timely waterproofing will keep it ready for whatever nature throws your way. And remember, if things get too tough, there’s no shame in calling in the pros.
After you’ve cleaned it, don’t forget the essential steps for proper storage and maintenance. Head over to our full guide on caring for your tent, where we break down simple tips to keep your tent lasting season after season. Check it out and make sure your tent is always adventure-ready!
Ready to give your tent the love it deserves? Happy cleaning—and even happier camping!
How to Clean a Tent: FAQ
Short answer: No! Mould can cause all sorts of health issues, especially if you have allergies or asthma. If your tent’s mould problem is beyond what a good cleaning can fix, it might be time to say goodbye and invest in a new one.![]()
It’s not recommended! While it might seem like a good idea to grab whatever detergent is handy, regular household detergents can be too harsh for your tent’s fabric. They often contain chemicals that can strip away the waterproof coating, leaving your tent vulnerable to leaks. Instead, stick to a cleaner specifically designed for outdoor gear. These products are formulated to clean without damaging the fabric or waterproofing.![]()
Not long at all! Leaving your tent wet is a fast track to mould and mildew problems. If you have to pack up while your tent is still damp, try to unpack and dry it out as soon as possible—ideally within 24 hours. The longer you leave it wet, the higher the risk of mould setting in, which can cause permanent damage and some seriously unpleasant odours.![]()
Yes, but with care. The inside of your tent can get just as dirty as the outside, especially if you’ve been camping in muddy or sandy conditions. To clean it, set the tent up and use a mild soap solution with a soft cloth or sponge to gently wipe down the interior. Avoid soaking the fabric too much and be sure to rinse and dry thoroughly to prevent moisture from getting trapped inside.![]()
Air it out and use odour removers! A smelly tent is often the result of trapped moisture or bacteria. Start by setting it up in a sunny, breezy spot and letting it air out for a day or two. For persistent odours, consider using an enzyme-based odour remover designed for fabrics. These products break down the organic matter causing the smell rather than just masking it.![]()
Vinegar can be used to treat mould or mildew on most tent fabrics, but it should be applied carefully. Always dilute it (50/50 with water), test on a small area first, and avoid prolonged soaking. On lightweight or silicone-coated tents, use minimal amounts and rinse thoroughly. For general cleaning, a specialist tent cleaner is usually the safer first option.![]()
Yes, but be gentle. Using a hose to rinse off your tent is a quick and easy way to remove dirt and soap after cleaning. However, be mindful of the water pressure. High-pressure streams can damage the seams or fabric, so it’s best to use a gentle spray. Make sure to set up the tent fully so water can drain off, and let it dry thoroughly in the sun afterwards.![]()
Start by mixing a 50/50 solution of white vinegar and water. Lightly spray the affected area and allow it to sit for a few minutes before gently scrubbing with a soft brush or cloth. Rinse thoroughly with clean water and allow the tent to dry completely in a well-ventilated area or sunlight.
Always test the solution on a discreet area first, avoid prolonged soaking, and use extra care on lightweight or silicone-coated fabrics. For general maintenance or light contamination, a specialist tent cleaner may be a safer first option.![]()
Not advisable! Sticky Tent Syndrome usually indicates that the waterproof coating is breaking down, which not only makes the tent uncomfortable to sleep in but also less effective at keeping you dry. It’s best to clean off the sticky residue and reapply a waterproof coating before using the tent again. If the tent is still sticky after treatment, it might be time to consider a replacement.![]()
DIY with the right products! If you’re looking to save some money, you can make your own seam sealer by mixing silicone caulk with mineral spirits. Apply this mixture to the seams to ensure they’re watertight. For the fabric itself, budget-friendly waterproofing sprays like Nikwax Tent & Gear SolarProof are a great option. Just make sure to follow the instructions carefully for the best results.![]()
Gently, but thoroughly. Tent canopies often get dirty from dust, bird droppings, and tree sap. Use a mild soap solution and a soft brush to clean the canopy, taking care not to scrub too hard. Rinse thoroughly with a hose and let it dry completely before packing it away. If the canopy is large, it might be easier to clean it while it’s still attached to the tent frame.![]()
Use a specialist tent cleaner and a tent-specific reproofer designed for technical outdoor fabrics. Spray-on reproofers are best for flysheets and targeted areas, while wash-in products should only be used on PU-coated tents. Seam sealers help restore leaking stitched areas. Avoid household detergents or fabric softeners, as these can damage waterproof coatings. Always clean the tent thoroughly before reproofing.![]()
Let the sap dry completely, then gently scrape off excess with a plastic card. Dab the residue with a cloth lightly dampened with isopropyl alcohol, rinse with clean water and allow to dry fully. Avoid aggressive scrubbing, especially on silicone-coated fabrics, and reproof the area if water repellency is reduced.
On silicone-coated (silnylon or silpoly) tents, use minimal alcohol and test on a small area first, as excessive solvent use may affect surface treatments.![]()
Leave a Reply