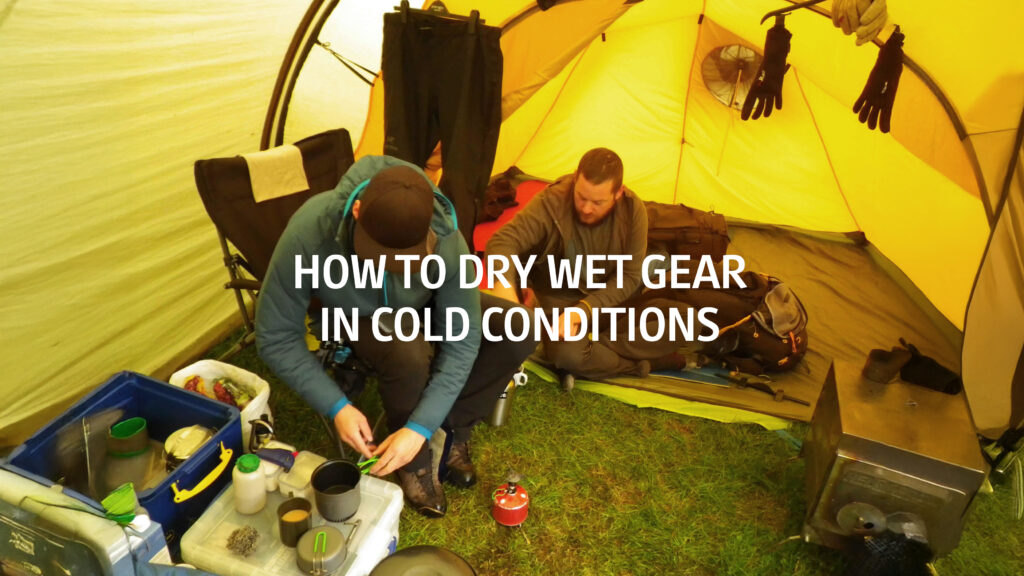
How to Dry Wet Gear Fast in Cold Conditions
Author: Trekitt Gear Team
Outdoor gear specialists with decades of hands-on experience testing and caring for outdoor clothing and footwear in real UK cold and wet conditions.
How to dry wet gear fast in cold conditions is an essential winter skill that directly affects warmth, safety, and how well your equipment performs day after day. This guide breaks down the most effective cold-weather drying techniques, helping you manage moisture without damaging insulation or relying on unsafe heat sources.
Key Takeaways
- How to dry wet gear efficiently in cold weather: Practical methods that use airflow, gentle heat, and moisture removal to get clothing, boots, and accessories back into usable condition.
- How to prioritise drying when conditions are against you: Which items matter most for warmth and safety, and when “warm enough” is better than fully dry.
- What to avoid when drying winter kit: Common mistakes—like using direct heat or mishandling down—that can permanently damage gear or increase risk in cold conditions.
If there’s one thing winter loves doing, it’s making your gear wet — and then refusing to dry it again. Whether it’s a surprise snow flurry, a sideways sleet shower, or just the usual UK damp creeping into everything, keeping your kit dry becomes a real battle. And in cold conditions, drying it quickly isn’t just about comfort; it’s about staying warm, safe, and able to keep moving.
The problem? Cold air simply can’t hold much moisture, so evaporation slows right down. Add freezing temperatures into the mix, and you’re suddenly dealing with soggy base layers that turn clammy, boots that stay wet for days, and gloves that freeze into stiff little boards if you leave them outside the tent. Not ideal when you’re relying on that gear to keep you warm.
The good news is that there are ways to dry your kit quickly in winter — safely, efficiently, and without ruining your insulation or melting your boots in the process. In this guide, we’ll walk you through realistic cold-weather drying methods for clothing, footwear, gloves, tents, and more, along with a few smart tricks for preventing items from getting soaked in the first place.
Understand the Science of Drying in the Cold
Evaporation Needs Three Things
Drying isn’t mysterious — it’s just evaporation. And evaporation relies on a simple trio:
heat, airflow, and low humidity.
Take away any of those, and things dry slowly. Take away all three (hello winter), and nothing dries at all.
Why Winter Slows Everything Down
Cold air can’t hold much moisture, so it struggles to pull water from your gear. Add the UK’s trademark dampness, and the air is already close to saturated. That means:
- Wet jackets stay wet
- Boots dry painfully slowly
- Gloves stay clammy long after you stop moving
It’s not your fault — it’s the physics.
The Problem with Leaving Wet Gear Outside
Sub-zero temperatures introduce a new issue: freeze-drying. A wet kit left outside might freeze solid into interesting sculpture-like shapes. Technically, it can dry this way, but only in very cold and very dry climates. The UK rarely delivers that combination. More often, the frozen kit just becomes wet again once it thaws.
Dry vs. Warm: Knowing What to Prioritise
In winter, “perfectly dry” isn’t always the goal. Sometimes it’s more important to get gear warm enough to use again:
- Damp base layers can be dried using body heat.
- Gloves often just need warming so they’re flexible.
- Insulated items may dry slowly and need careful handling.
Understanding the science helps you make informed decisions on whether to dry something fully, warm it through, or store it for later.
Drying Gear Using Your Body Heat (Safely)
When the air is cold, and nothing wants to dry, your body becomes one of the most reliable heat sources you’ve got. It’s not glamorous, it’s not particularly pleasant, but with the right approach, it’s incredibly effective. The key is knowing what you can safely dry this way — and what you absolutely shouldn’t.
Body Heat Drying Techniques
Wear Damp Base Layers (But Not Soaked Ones)
If your base layers are slightly damp from sweat or drizzle, the quickest way to dry them is simply to wear them. Your body heat warms the fabric, moisture moves outward, and your midlayers help push it away.
Just remember:
- Damp = fine
- Dripping wet = misery, hypothermia risk, and very slow drying
If your base layers are truly soaked, change into your dry spare and store the wet one against your body only once it has stopped dripping.
Use Your Midlayer to Push Moisture Out
A warm fleece or synthetic midlayer acts like a gentle engine, helping to move moisture outward from your base layer. It traps enough heat to drive evaporation without risking damage to the insulation.
Tip: Avoid using down insulation for this — synthetic is safer.
“Sleeping Bag Drying” — Use with Caution
Some winter campers swear by drying slightly damp layers inside their sleeping bag. It can work, but it comes with rules:
- Only dry slightly damp clothing (light moisture, never soaked).
- Only use a synthetic sleeping bag or synthetic liner for this technique.
- Vent the bag if it starts feeling overly humid.
If you’re using a down bag, proceed very carefully, or better yet, don’t use it at all.
Safety Considerations
Keep Wet Items Out of Down Sleeping Bags
Down is incredible for insulation, but only when dry. Put wet clothing or socks inside a down bag, and you risk:
- Clumping down
- Losing loft
- Ruining the bag’s warmth until it’s fully dried again (which might take days)
If your down bag gets wet inside, it’s very hard to recover on a cold trip.
Use Synthetic Liners or Vapour Barrier Liners
If you regularly camp in winter or know you’ll need to manage moisture inside your bag, consider:
- A synthetic sleeping bag liner to handle damp clothing
- A Vapour Barrier Liner (VBL) on very cold trips to prevent your sweat from migrating into your insulation over multiple nights
These create a buffer, protecting your insulation while helping your body heat push moisture outward.
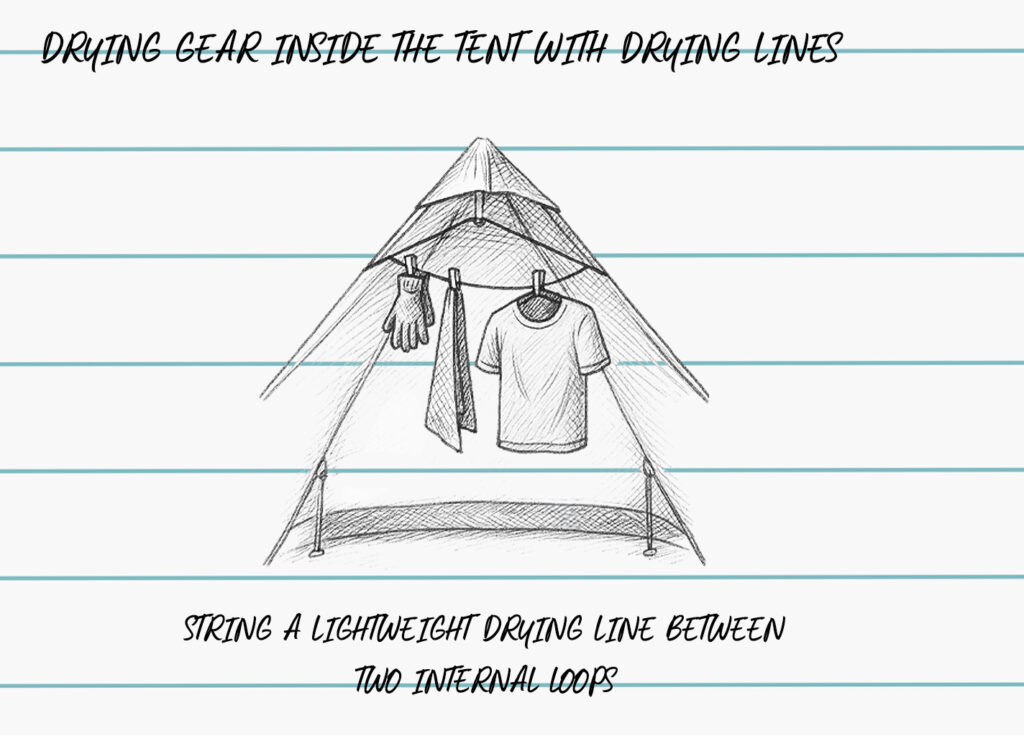
Drying Gear Inside the Tent
Once you’re zipped inside your tent for the night, your drying options become a bit more limited — but not impossible. With the right mix of ventilation, careful heat use, and good old-fashioned improvisation, you can get the damp kit back into usable shape by morning.
Ventilation Is Essential
Why No Airflow = More Condensation (and Slower Drying)
It’s tempting to seal your tent up tight on a freezing night, but that’s the fastest way to turn it into a condensation factory. Without airflow, all the moisture from your breath — and from anything you’re trying to dry — collects on the inner walls and rains back down on you.
No airflow = no evaporation.
How to Create Cross-Ventilation (Even in Grim Weather)
You don’t need huge openings; just a controlled trickle of fresh air makes a big difference. Try:
- Cracking open opposite vents to create a tiny cross-breeze
- Opening the top zip of the door (warm air rises)
- Pitching the fly a little higher on the windward side
- Using the tent’s built-in vent stiffeners to keep airflow steady
A small amount of ventilation won’t make you colder — it actually helps reduce dampness and improves warmth over time.
Safe Heat Sources
Warm Gear Outside the Tent First
A winter-rated stove is brilliant for warming up damp gear before it comes into the tent. Fire it up outside in a sheltered spot, warm the items slightly, then hang them inside your tent to finish drying. It gives you a head start without introducing dangerous heat sources into a confined space.
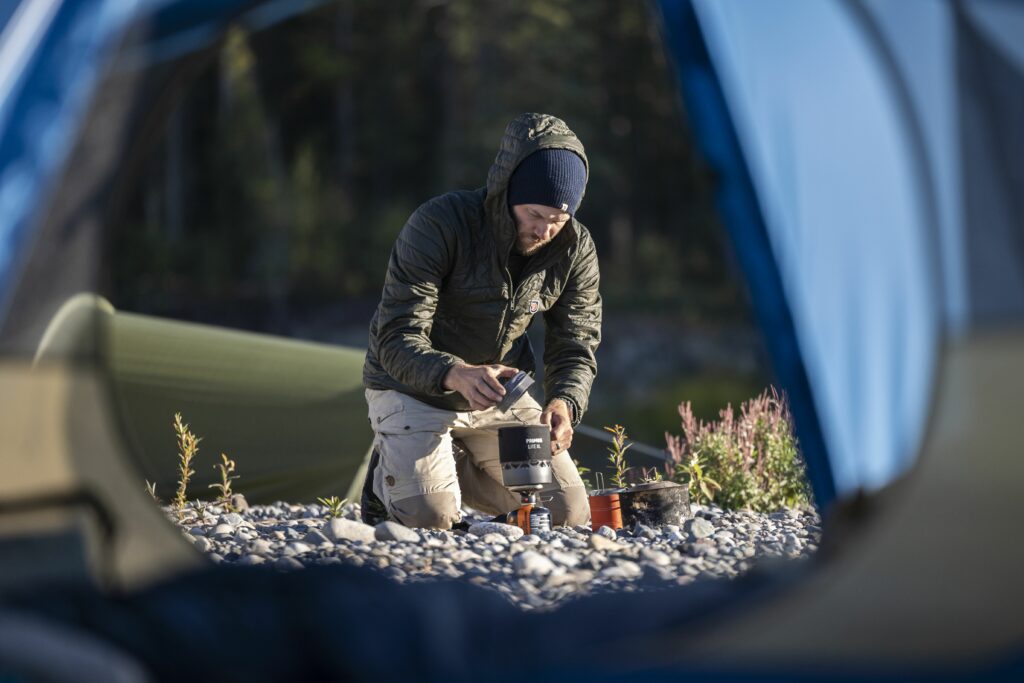
Using stove heat outside the tent to gently warm damp gear before airing it inside — never dry clothing over open flames.
Never Use Flames or Stoves Inside the Tent
It might feel tempting when you’re shivering, but please don’t.
Open flames inside a tent =
- Carbon monoxide risk
- Fire hazard
- Melted flysheet
- Rapid insurance-voiding
Even candles and tealights are a no-go. Your gear needs to dry — not turn into fuel.
Hanging & Airing Techniques
Use Your Tent’s Hanging Loops
Most tents have internal loops near the apex or on the ceiling seams. These are perfect for:
- Gloves
- Damp socks
- Small base layers
Just be sure nothing touches the tent wall, where moisture tends to collect.
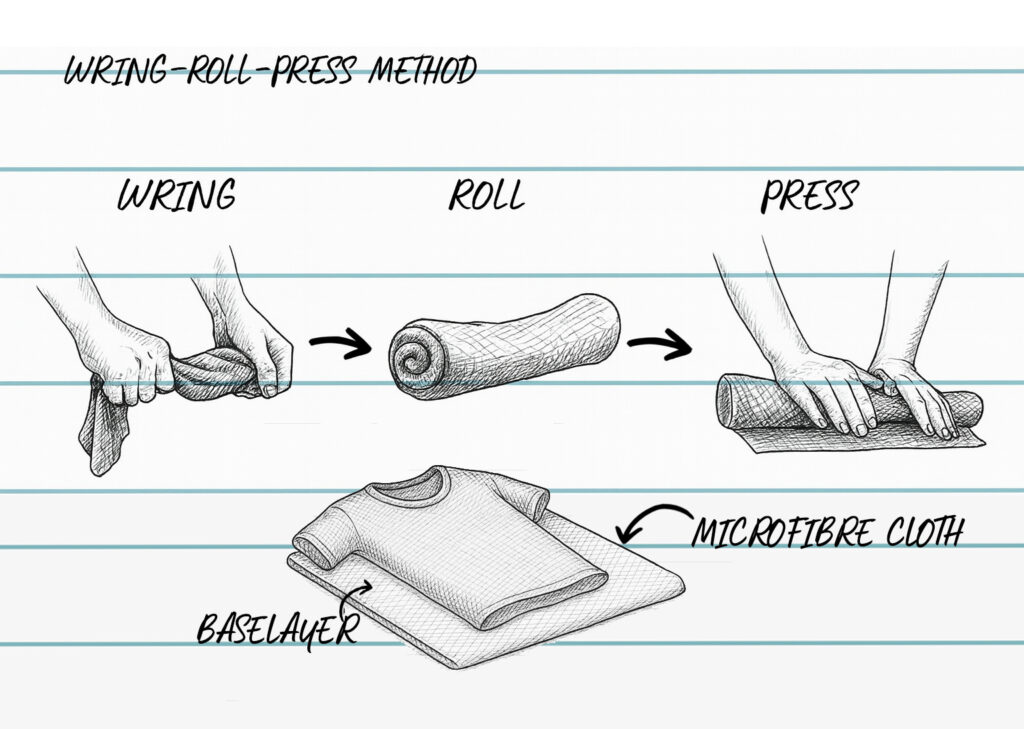
Pre-Dry with a Microfibre Cloth
Before hanging anything, give it a thorough squeeze or blot with a microfibre towel. Removing the first 30–40% of moisture makes a significant difference in drying time.
Drying Lines vs. Apex Drying
If your tent is roomy and stable enough:
- String a lightweight drying line between two internal loops.
- Hang small items using carabiners or clips.
If not, place items near the tent apex — the warmest, driest part of the tent where moisture naturally rises.
Drying Clothing and Layers Quickly
Different layers dry at different speeds — and some need a gentler touch than others. Knowing how each fabric behaves in cold, damp conditions will help you get your clothing back into action without damaging insulation or trapping moisture where you don’t want it.
Base Layers
Squeeze, Roll, Then Dry
Before you hang or wear your base layers, remove as much moisture as you can:
- Wring them out gently (don’t twist seams too aggressively).
- Roll them tightly inside a dry towel or microfibre cloth.
- Press or kneel on the bundle to squeeze out the last bit of water.
This simple step dramatically speeds up drying — especially in cold weather.
Merino Wool: Slower to Dry, But Still Works When Damp
Merino doesn’t dry as fast as synthetic fabrics, but it has a huge advantage:
It still keeps you warm when damp.
So even if your merino base layer doesn’t dry completely overnight, it’ll remain comfortable and functional the next day.
Midlayers and Insulation
Fleece: The Winter Drying Champion
Fleece is the easiest and quickest layer to dry in winter.
It:
- Dries with minimal heat
- Responds well to airflow
- Doesn’t collapse when damp
A quick wring and a bit of tent ventilation will have fleece back in action surprisingly fast.
Down Insulation: Handle With Care
Down is brilliant when dry and useless when wet. If your down jacket or bag gets damp:
- Avoid aggressive heat — no direct stove warmth, no fire-drying.
- Hang it in a warm, ventilated spot and let it dry slowly.
- Use gentle body heat only if the dampness is very light.
If it gets properly soaked, it may not fully dry during a winter trip.
Synthetic Insulation: Better for Wet Winter Conditions
Synthetic insulation (like PrimaLoft or recycled polyester fills) handles moisture much better. It:
- Retains warmth even when damp
- Dries faster than down
- Can handle a bit of tent heat and airflow
This is why many winter hikers and campers favour synthetic jackets over down during wet UK winters.
Waterproof Shells
Shake Off as Much Moisture as Possible
Before doing anything else, give your shell a good shake. Most of the water beads on the surface thanks to the DWR, so shaking it off does half the job.
Turn It Inside Out
The inner face of a waterproof jacket is where sweat collects. Drying this inner layer first speeds up the drying process and prevents the cold, clammy feeling when you put it back on.
Airflow Beats Heat Every Time
Waterproof fabrics don’t like direct heat. Too much warmth can damage membranes or cause seams to delaminate.
Instead:
- Hang your shell where air circulates
- Let the tent’s natural ventilation do the work
- Rotate it occasionally to expose both sides
The goal is gentle drying, not aggressive heating.
Drying Footwear in the Cold
Boots are often the trickiest bit of kit to dry in winter. They’re sturdy, insulated, and built to keep moisture out — which unfortunately means they’re also very good at keeping moisture in. Add mud, snow, and the usual UK dampness, and you’ve got a recipe for cold, soggy feet if you don’t take action. Thankfully, with a few smart steps, you can dramatically speed up the drying process and avoid the misery of putting on freezing boots at dawn.
Remove Components
The very first thing you should do is strip the boots back as much as possible. Pull out the insoles completely and loosen the laces all the way down to the toe. This instantly exposes the damp interior and allows air to circulate properly. You’ll be surprised at how much moisture sits underneath the insole — removing it gives your boots the best chance of drying overnight, even in cold conditions. Think of this as unlocking the airflow pathways your boots normally seal off.
Rapid-Dry Techniques
Once you’ve opened everything up, it’s time to draw the moisture out. In winter, evaporation alone often isn’t enough, so you need something absorbent to do the heavy lifting. Microfibre cloths are brilliant for this — stuff them deep into the toe box, leave them for a bit, then swap for a dry patch. If you’re running low on clothes, a dry pair of socks, a buff, or even a lightweight midlayer sleeve will do the job. The goal is simple: get something dry in there that will wick away the worst of the moisture.
Boot-stuffing is one of the most effective methods for rapidly accelerating the drying process. If you’re not in the hills and near civilisation, even a handful of newspaper works wonders — it pulls water out incredibly quickly. In the wild, a camp towel or spare clothing is your best bet.
You can also use gentle warmth to help things along, but treat this option with respect. A slightly damp boot can be warmed by tucking it briefly inside your jacket or by placing the insoles close to your body to take the chill off. Heated insoles can also be beneficial if used regularly. What you’re aiming for is mild, controlled warmth — enough to encourage drying, not enough to damage the boot’s structure or glue.
All these techniques don’t magically make boots bone-dry, but they can move them from “cold swamp” to “warmish and wearable,” which is often the level you need for the next day’s hike.
What NOT to Do
There are also a couple of drying disasters worth avoiding. The first is putting boots too close to a stove or fire. It’s tempting—especially when you’re tired, and everything is damp—but the risk isn’t worth it. Too much heat can melt the adhesives that hold the boot together, warp the rand, or even damage the waterproof membrane. One careless evening can cost you an entire pair of boots.
The second big no-go is leaving boots outside to “freeze-dry.” This technique can be effective in extremely cold and dry climates, but the UK typically does not experience such conditions. Instead of drying, your boots will freeze solid into shapes that closely resemble medieval torture devices. And worse, once they thaw, they’re usually just as wet as before. Bring them into your tent or vestibule where they can at least stay above freezing and have a chance to dry out naturally.
Drying Gloves, Hats & Small Accessories
Smaller items of clothing — such as gloves, hats, buffs, and socks — tend to absorb moisture quickly and feel uncomfortable when wet; however, the good news is that they also dry far faster than bulkier layers. In winter, these accessories are the items you’ll most often need to revive overnight, especially if you’re handling snow, pitching a wet tent, or sweating into them during big climbs. With the proper techniques, you can get them warm, dry, and ready to go again by morning.
Use Your Body Heat to Your Advantage
Your body is one of your most reliable heat sources in winter, and it works brilliantly for smaller items. Slip damp gloves or a beanie into the inside pockets of your jacket, or sandwich them between midlayers where your core temperature warms them. This gentle warmth helps drive moisture outward without risking damage to insulation or fabric.
The trick is to dry damp accessories, not ones that are dripping. If you put soaking-wet gloves under your jacket, all you’ll achieve is cooling yourself down — and fast. Give them a quick squeeze or blot with a cloth first, then let your body heat do the rest.
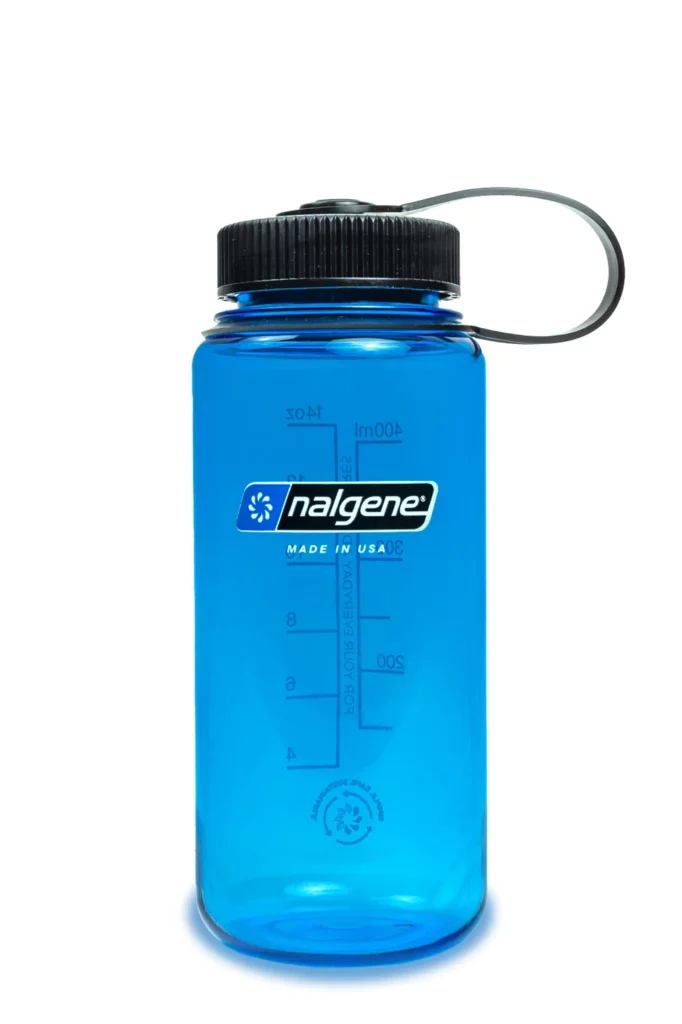
Use a Hot Water Bottle as a Safe “Radiator”
A classic winter camping hack: fill a Nalgene bottle (or any robust, screw-top bottle) with hot water and use it as a mini radiator. Place your damp gloves or hat near the bottle — never directly wrapped around it — and let the ambient heat gently warm and dry the fabric.
This works exceptionally well inside the tent, where some ventilation is already occurring. It’s safe, gentle, and far less risky than trying to dry gear near a stove flame.
Bonus: The bottle also doubles as a hand warmer or foot warmer while in use.
Hang Items Near the Tent Apex (or Use the Sleeping Bag Foot Box)
Inside the tent, warm air naturally rises to the highest point. Hanging gloves or hats close to the apex — using internal loops or a small drying line — gives them access to the warmest, driest air available. Just make sure they’re not touching the tent walls, where condensation tends to collect.
For very slightly damp socks or liners, you can use the foot box of your sleeping bag to dry them while you sleep. Your body heat will gently drive out the remaining moisture. Only ever use this method for lightweight items that are barely damp — anything wetter risks soaking your insulation and making things worse by morning.
Fast Drying Your Tent & Sleeping Bag
Even if you manage to keep your clothing and footwear under control, your shelter and sleep system can still collect a surprising amount of moisture in winter. Frost, condensation, damp ground — it all adds up. Caring for your tent and sleeping bag properly helps keep your nights warmer, your mornings less clammy, and the rest of your gear in better shape.
Drying Your Tent
Shake Off Frost and Ice First Thing
On cold winter mornings, your tent often wakes up wearing a crunchy coat of frost, both inside and out. Before packing anything away, give the flysheet a thorough shake. Most of that frost will fall away instantly, reducing the amount of moisture you’ll be carrying (and re-pitching) later. It’s a simple move that makes a big difference.
Pack the Flysheet Separately
If conditions have been especially damp overnight, resist the urge to stuff the whole tent into one bag. Keeping the flysheet separate from the inner tent stops the moisture from transferring across and soaking everything else. It may look a bit more faffy, but it means your inner tent stays drier and warmer for the next camp.
Air Out Whenever You Get the Chance
Winter doesn’t always offer long periods of sunshine, but even a few minutes of fresh air can help. If you stop for lunch or have a bit of downtime, spread the flysheet or inner tent over a rock, a bush, or even your pack. The more often you can give your tent a quick airing, the less moisture it will carry into the evening — and the less condensation you’ll battle overnight.
Drying Your Sleeping Bag
Turn It Inside Out When the Sun Appears
Even the best sleeping bags gather moisture through the night from your breath, body vapour, and tent condensation. Whenever you get a sunny moment (or even a dry, breezy one), turn your sleeping bag inside out and drape it over a sheltered area. The inner lining dries fastest, and it’s usually the dampest part.
If the outer is wet too, just rotate it after a few minutes.
Shake Out the Foot Box
The foot box is notorious for collecting condensation — your warm feet heat the cold fabric, and moisture settles there. A good, firm shake helps redistribute the loft and flick away lingering moisture droplets.
Avoid Compressing a Damp Sleeping Bag
This one’s essential. If your sleeping bag is still damp when you’re packing up, don’t crush it down hard. Compressing wet insulation can permanently reduce loft, especially with down. Instead:
- Lightly stuff it into the sack
- Leave compression straps loose
- Unpack it as soon as you reach your next stop
Maintaining some loft helps it continue to dry throughout the day and protects the insulation in the long term.
Smart Preventive Strategies
Drying gear in winter is always possible — but preventing it from getting soaked in the first place makes life so much easier. A little preparation and a few smart habits can significantly reduce the amount of drying you’ll need to do once the temperature drops and condensation sets in.
Keep Things Dry in the First Place
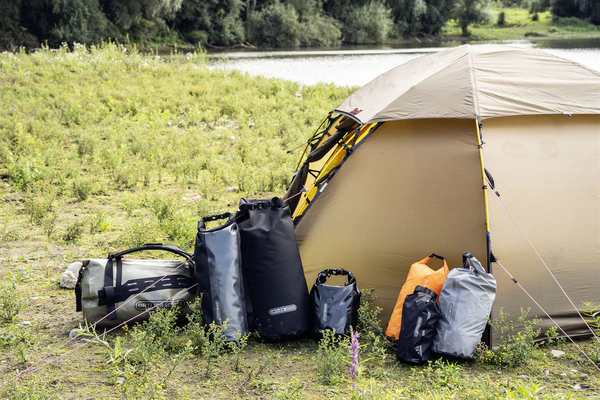
Use Dry Bags for Anything That Must Stay Dry
Your clothing, electronics, sleep system, and spare layers should live in dry bags. Not only do they keep out rain, sleet, and melting snow, but they also stop moisture from creeping in from damp tents or wet pack fabric.
Different colours help keep things organised too.
Line Your Rucksack
Even if your pack is “water resistant,” winter weather has a habit of finding its way inside. A waterproof pack liner provides an extra layer of protection — and peace of mind when everything outside is wet.
Avoid Sweating by Managing Your Layers
One of the easiest ways to end up with wet clothing in winter is… overheating.
If you sweat heavily into your base layers, you’ll cool down quickly when you stop moving. Adjust layers early and often:
- Start slightly cold
- Strip layers off before climbs
- Add layers the moment you break
Managing sweat is one of the biggest “dryness hacks” of all.
Choose a Better Campsite
Avoid Humid or Damp Locations
Pitching next to streams, boggy ground, or in low-lying valleys might look scenic, but they’re moisture traps. Humid air slows down drying inside the tent and increases overnight condensation.
Aim for a Spot with Gentle Airflow
A light breeze (not a howling gale!) creates natural ventilation that helps your tent stay drier. Higher, more open pitches tend to have better airflow — even a slight movement of air makes a noticeable difference to moisture levels.
Carry a Few “Drying Aids”
Having the right tools makes drying gear faster, safer, and far less frustrating. Consider packing:
- A spare microfibre cloth – for pre-drying clothing, boots, and tent walls.
- Extra dry sacks – especially for insulation layers or sleeping gear.
- VBL socks or liners – useful on longer cold trips where sweat management matters.
- An extra base layer – one to wear, one to dry, one for sleeping.
- Boot-stuffing material – camp towels, socks, or even a buff work brilliantly.
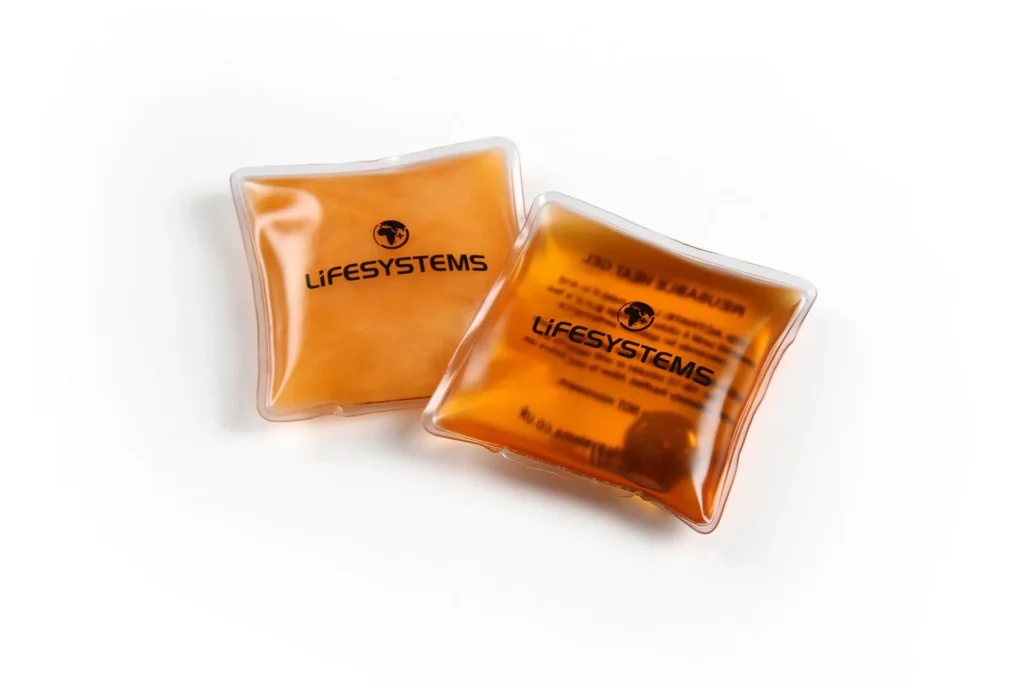
- Chemical hand warmers – perfect for emergency glove drying or thawing frozen socks.
These small items don’t weigh much, but they massively improve your chances of keeping kit warm, functional, and dry enough to use again.
When to Bail: Knowing When You Can’t Dry Your Gear
Even with all the best techniques, there are times when winter simply wins. Cold, damp weather can stack up faster than you can manage it and knowing when to call it a day is one of the most important winter skills you can have. Recognising the warning signs early can prevent a minor discomfort from turning into a dangerous situation.
Spotting the Signs of Dangerous Progression
If you’re no longer able to rewarm yourself or your clothing, things can quickly deteriorate. Wet insulation — whether it’s your jacket, gloves, or sleeping bag — loses its ability to trap heat, leaving you exposed to the cold with fewer and fewer ways to recover.
Keep an eye out for:
- Chilled extremities that don’t warm up even after moving
- Shivering that won’t stop, or worse, shivering that stops unexpectedly
- Wet insulation layers that feel heavy, clumpy, or cold against the skin
- A core temperature drop that doesn’t improve with food, movement, or dry layers
If your gear can’t dry and you can’t warm up, it’s time to reassess.
Safety Comes Before the Itinerary
It doesn’t matter how far you planned to go, how long you intended to stay out, or how committed you are to the adventure — winter doesn’t care. Prioritise your safety, not the schedule. Turning back, shortening the route, or finding shelter sooner is never a failure; it’s a reasonable judgment.
Every experienced winter camper has bailed at some point. Staying out when you’re wet and unable to dry off is how people get into trouble.
Always Carry a Dry Emergency Layer
This is your get-out-of-jail-free card. A completely dry, sealed emergency layer — whether that’s a base layer, an insulated jacket, or a lightweight synthetic puffy — can make the difference between discomfort and danger. Keeping it in its own dry bag and never touching it unless necessary gives you a safety buffer for moments when everything else is damp or failing.
If you change into your emergency dry layer and still can’t warm up, that’s your red flag: regroup, retreat, and find a sheltered location.
Conclusion
Drying gear in winter is never quick, and it’s rarely perfect — but with the right mix of airflow, gentle heat, and smart moisture control, you can keep your kit in good working order even in the coldest, dampest conditions. From using your body heat and tent ventilation to squeezing every drop out of base layers and managing campsite airflow, all these small techniques add up to big improvements in comfort and safety.
The key takeaway? Winter drying is a slow game, but it is manageable. You’re not trying to make everything bone-dry; you’re trying to make it warm enough, functional enough, and safe enough to use the next day again. With the tricks in this guide, you’ll be far better equipped to handle those soggy gloves, soaked boots, and stubbornly damp jackets that winter loves to throw your way.
If you’ve found this helpful, take a look at the rest of our Winter Camping Hub, where we dive deeper into staying warm, managing condensation, packing smart, and making your winter overnighters safer and more enjoyable.
FAQ: How to Dry Gear in Wet Conditions
Use body heat, shelter (such as tents, bothies, or huts), or packable drying aids (like a microfibre towel) to remove as much moisture as possible. Prioritise insulation and socks first. Avoid sealing damp gear in dry bags overnight, as it traps moisture.![]()
Yes—but only lightly damp items. Hang them near the roof or on a cord and keep ventilation wide open. Use a small travel towel to absorb droplets in the morning. Never dry soaking-wet items inside a tent; they’ll increase condensation and may stay wet until you hike again.
Synthetic insulation (e.g., PrimaLoft) retains heat even when wet. Down requires extra care—use a waterproof stuff sack, avoid wearing it in heavy rain, and only try to dry it with body heat if it’s slightly damp. Never compress wet down.![]()
Wring them thoroughly, then roll them in a microfibre towel to remove excess water. Place them inside your sleeping bag near your feet or hips (not at the bottom). Your body heat will finish the job overnight.![]()
Remove the insoles, stuff the boots with dry clothing or newspaper (if you’re at a hut), and replace the stuffing every few hours. Avoid fires, radiators, or direct heat—these can cause leather to crack and melt adhesives.![]()
No—this is dangerous. Flames and synthetic fabrics don’t mix. Instead, use stove heat only to warm the tent slightly (if using a safe, approved system), never as a method for drying.![]()
Prioritise:
Get warm first (dry base layers, shelter, food).
Isolate wet gear to stop it from soaking dry items.
Use body heat to dry critical layers gradually.
If you can’t warm up, stop the trip—hypothermia risk increases dramatically.![]()
They rely on airflow, sunlight breaks, body heat, and moisture-wicking fabrics. UL hikers often carry a tiny drying line, microfibre towel, and quick-dry synthetics to speed up evaporation.![]()
Yes—cotton holds water and becomes heavy and cold. Synthetics (polyester, fleece) and merino wool dry much faster and retain their insulating properties even when damp, making them essential for wet environments.![]()
Use a waterproof compression sack or pack liner, keep the tent well-ventilated, and avoid bringing wet clothes into the bag. If the bag gets damp, air it out at the first break in weather—even 10 minutes of weak sunlight helps.![]()
Sometimes the inside of a waterproof jacket feels wet from condensation, not rain. Turn the jacket inside out and air it out under shelter. If the DWR is failing, water will saturate the outer fabric—reproofing may be needed later.![]()
Pack wet gear in mesh outer pockets, use dry bags internally, and air your pack whenever possible. Keep food away from wet items and avoid overstuffing the pack, as this compresses and traps moisture.![]()
Yes, clip damp items, such as gloves, to the outside of your pack using a carabiner. Movement and airflow accelerate the drying process, but avoid hanging anything heavy or loose that could fall off.![]()
Use body heat and shelter only—gear exposed outside will often freeze solid. Keep damp layers inside your jacket or sleeping bag. Shake snow off to minimise meltwater.![]()
Leave a Reply